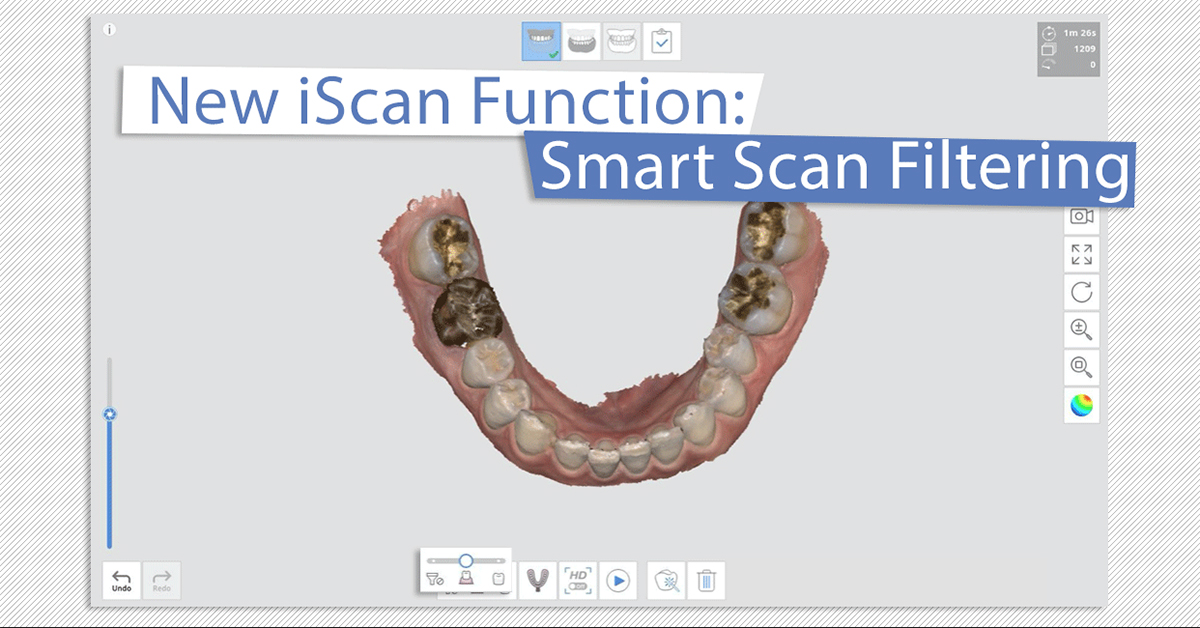
Have you ever wished that your intraoral scanner could do more of the work for you? Well, with iScan V1.4, your software can help you to remove unnecessary scan data as you are scanning, with Smart Scan Filtering! Find out what each option does and when to use the different options for the best scanning experience.
What exactly is Smart Scan Filtering? Before we dive into it, we’d like to make a disclaimer. This is a function which you can use only if your system has a graphics card with at least 6GB of dedicated memory. Otherwise, you may have issues trying to activate the filter options. Do remember to check before activating the filter options (Settings -> Use GPU ON)!

Smart Scan Filtering Options
So, you have activated the smart scan filtering options. What do the three icons mean and what do they filter exactly? Let’s go through each option briefly!
The first icon on the left is the “no filter” option, meaning that soft tissues will not be filtered. You can use this option when scanning edentulous cases, stone models or other dental models.

Scan Data Using Smart Scan Filtering Option 1: No Filter
The second icon in the middle is the “teeth & gingiva” option which filters soft tissue that interferes with scan data, leaving only the necessary gingiva data. We recommend this option for general scan cases, so this would probably be the option you will use most.

Scan Data Using Smart Scan Filtering Option 2: Teeth & Gingiva
The last icon on the right is the “teeth” option which, as you may guess by now, filters everything else besides teeth data. Why would you want to scan only the teeth data, you may ask. The purpose of this filter option is more for additional scans, for when you need slightly more data of the teeth after scanning with the second filter option. We don’t recommend using this filter option for your base scan data!

Scan Data Using Smart Scan Filtering Option 3: Teeth
You can see the differences in the same scan subject, using the different filtering options, in the photos above.
Want to see the different filtering options in action? Check out our tutorial video!

